
Whether you’re wiping an SSD for resale or purging old data for a new user, correctly erasing it is a must if only to make sure sensitive information isn’t retrievable.
Unfortunately, traditional drive wiping techniques reserved for HDD don’t work for SSDs due to different data storage practices relating to the NAND flash memory found in these types of hard drives.
In essence, using the Disk Management utility in Windows to format an SSD will leave data traces that can be recovered and potentially used for malicious ends. It begs the question, how does one securely erase and sanitize an SSD in Windows 10?
As always, when it comes to messing around with hard drives, please back up any data you need before proceeding. Data erased using the techniques below cannot, under any circumstance, be recovered.
Table of ContentsShow
SSD Manufacturer Secure Erase Utility

Most, if not all, SSD manufacturers provide what is called a toolbox, or utility, with a variety of SSD specific tools, including a Secure Erase function. Secure Erase is widely considered the most effective way to erase an SSD drive.
Secure Erase completely flushes an SSD of any data by returning it to its factory settings, or out of the box functionality. Data recovery programs will be unable to retrieve data afterward.
Each toolkit works differently, and as such, we recommend searching on the web site of your hard drive manufacturer for not only the utility itself but also how to complete an erase. In many cases, a toolkit comes loaded onto the SSD itself.
Some examples of secure erase utilities include Samsung Magician, Intel Solid State Drive Toolbox, and Kingston SSD Toolbox.
For reference, let’s take Samsung Magician:
- Download the utility here from the Samsung website.
- Double click on the executable and follow the installation wizard.
- Open Samsung Magician and click on “Secure Erase” in the menu that runs along the bottom of the program window.
- Follow the instructions to trigger the Secure Erase utility. In most cases, you’ll need to create a bootable USB drive to allow the utility to work. As always, remember that the process completely wipes the drive, including Windows 10.
HDD Erase

The second most widely used technique is employing an unassuming program by the name of HDD Erase, which was, at a time, the recipient of the NSA’s blessing as the number one technique for securely erasing drives.
The main advantages of HDD Erase are that it is 100% free and works will all SSD hard drives regardless of the manufacturer. On the flip side, HDD Erase only runs in DOS and isn’t as user-friendly as the other methods in our guide.
- Download HDD Erase here.
- Create a USB DOS bootable drive using a utility such as Rufus.
- Copy the HDD Erase executable to the USB drive.
- Restart the computer and change the priority boot order in the system BIOS to load up the USB drive.
- Type “hdderase” in the DOS command prompt and press enter.
- When prompted to proceed, hit “Y” then enter.
- Press any key to continue. After the disclaimer, hit “Y” to agree.
- Hit “Y” one more time when warned about powering the PC through an outlet rather than a battery.
- Next, find the drive you want to erase among the list and note the letter and numeral values to the left of the said drive (for example, “PO”). Triple check you are choosing the correct drive.
- Type the letter and numerical value and hit “Enter.”
- Proceed to the options menu by typing “Y” and enter.
- Type “1” and hit enter to execute Secure Erase.
- Hit “Y” and enter one more time to trigger the secure erase process.
- When the process is complete (this can take anywhere from a few minutes to a few hours depending on the size of the SSD), type “N” and hit enter, then return to the options menu and exit the program.
User-Friendly Third-Party Utilities
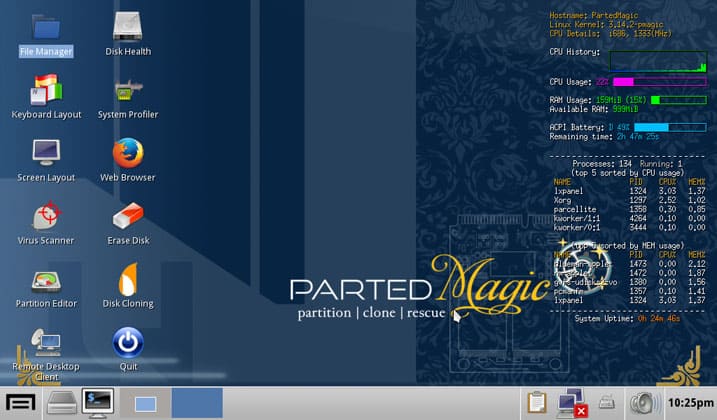
The third method involves using a third party utility other than HDD Erase. These programs often create user-friendly environments reminiscent of Windows 10 to improve ease of use. Examples include the popular Parted Magic and Blancco Drive Eraser.
These utilities function is very much the same way as a manufacturer toolbox, but unfortunately, more often than not, they have a price tag attached. They do, however, make the process a lot easier for the unversed user.
A Final Artisanal Method
SSD only truly removes data when it rewrites over it. With this in mind, you can erase sensitive information on a hard drive by deleting everything on the drive in Windows Explorer and filling up with media files such as movies or music.
When full, any old data will have been destroyed, making it unrecoverable. From here, delete the media files, and you’ll have a clean SSD. The SSD will be empty, and only the random media files recoverable.
This method only works for SSDs that don’t include Windows 10 OS files on them.


